my Step-by-Step Process for Designing a Custom Photo Book
Regardless of your age, the ages of your kids, your location or your profession, you might resonate with something my clients typically articulate in our first meeting:
“I haven’t done anything with my photos.”
When this comes up, my client might be feeling self-conscious, maybe even a little bit embarrassed.
Their kids are 4 and 6 years old, or approaching high school, or somewhere in between, and they’re feeling the weight of guilt and responsibility associated with their family’s memories - and the lack of organization or access.
If you were my client, or you can relate to any of this, I would reassure you of a few things.
A: You’re not alone.
Most of us haven’t done a darn thing with our memories beyond capturing them. Frankly, it’s overwhelming. I get it.
Two: This isn’t your fault.
The abundance of digital media, video apps, social media feeds, and photo book vendors has complicated (rather than simplified) the process of documenting our memories.
D: You’re awesome.
You’re the hero of this story for reaching out to someone who can help you navigate this process.
Maybe what I offer is a fit; maybe it’s not. But I think it’s really cool that you’re thinking about what to do with your family memories.
(Also, did you pick up on my Home Alone reference?)
My Client Process
I wanted to share my client process so whether you’re interested in working with me or doing this for yourself, you’ll have the step-by-step.
If you’re a DIYer, put yourself in my client’s shoes. How can you make this process work for you?
If you’re like “No way. I’m not doing this on my own,” then let me direct you to my services page.
Either way, I truly believe you can do this.
1 | Get Started
We schedule a video call and chat about the project.
In this initial call, I’m looking to find out what period of time they want to document, whether we can accomplish this in one or multiple projects, and what memories they have to include.
Subjects range from baby books and family annuals to legacy projects, milestone anniversaries, and birthday celebrations.
The client might have digital (and sometimes physical) photos, video clips, and artifacts to include, like letters and awards.
We finish the call by determining which project to tackle first and we pick a start date.
Behind the scenes, the client signs my client agreement, puts down a deposit to reserve their spot, which gives me the go-ahead to get to work!
Ask yourself: What do you want to document? Pick a topic and a time period. I’d start with something that doesn’t require too much work to track down the photos.
2 | Make a Plan
Next up, we select a start date and I get to work planning.
I create a shared Google Drive folder, which includes the following items:
Outline
I create an outline for the project, which breaks the photo book into sections - usually chronological, but not always.
Checklist
I use the outline to make a checklist for items I’ll need from the client. I include journaling, photos, and other artifacts along with suggested quantities for each section.
Photo Files
I create a folder for each section of the photo book, so the client can drag and drop photos and they’re automatically shared with me.
For example, let’s say you’re working on a legacy project for your mom. You might have a folder titled “01-Childhood 15-20 Photos” and another titled “02-Marriage 30-35 Photos.”
Photo quantities are detailed in the outline and checklist, but I like adding those numbers to the files themselves for quick reference.
More on photo selection, quantities, and narrowing it all down in another post! There’s a LOT to say about this.
Ask yourself: How do I want to break down this project? What sections or “chapters” make sense to tell this story.
3 | Client Homework
Photos
From the time I send the client their outline, checklist, and Google Drive folder to the time we start the project, they’re gathering photos, video clips, and memorabilia and dropping those files into their corresponding Google Drive folders.
They might also be scanning and/or photographing memorabilia.
I can also help with all of that.
It’s not included in my signature service, but I have had clients ask if I can just pick the photos and do the whole thing. I’ll still require some input, but we can always work out a full service project.
Journaling
The other big piece of client homework is journaling.
I’ll have clients write out birth stories, or memories about a vacation, or thoughts on their kiddo’s first or second year, or a summary of the previous year - whatever makes sense for the project.
I like having their thoughts, which I’ll include as pull quotes throughout the book or as a full page of writing at the beginning of the project or a section.
The client uploads writing files to Google Drive, or they can type them up right in the document with my questions.
Ask yourself: What photos and journaling will best convey the story I want to tell with this project?
4 | Photo Editing
On the project start date, I start by editing every single photo in Lightroom using a few simple editing steps.
Usually I edit by section and then export the photos with a new prefix indicating the number and title of that section to keep things organized.
So, a filename will go from IMG_9352.jpg to owen-01-pregnancy-IMG_9352.jpg
That means I can upload all of the photos at once and they’re in an “order” that corresponds to that particular photo book.
Also, the client will have those photos identified by section, which makes it so much easier to locate specific photos down the road.
I like to keep the original filename intact at the tail so my clients can easily find the edited versions of originals with a simple search.
Ask yourself: What small edits can I make to improve my photos? What file naming system would help me get the edited images organized so they’re easy to import and work with?
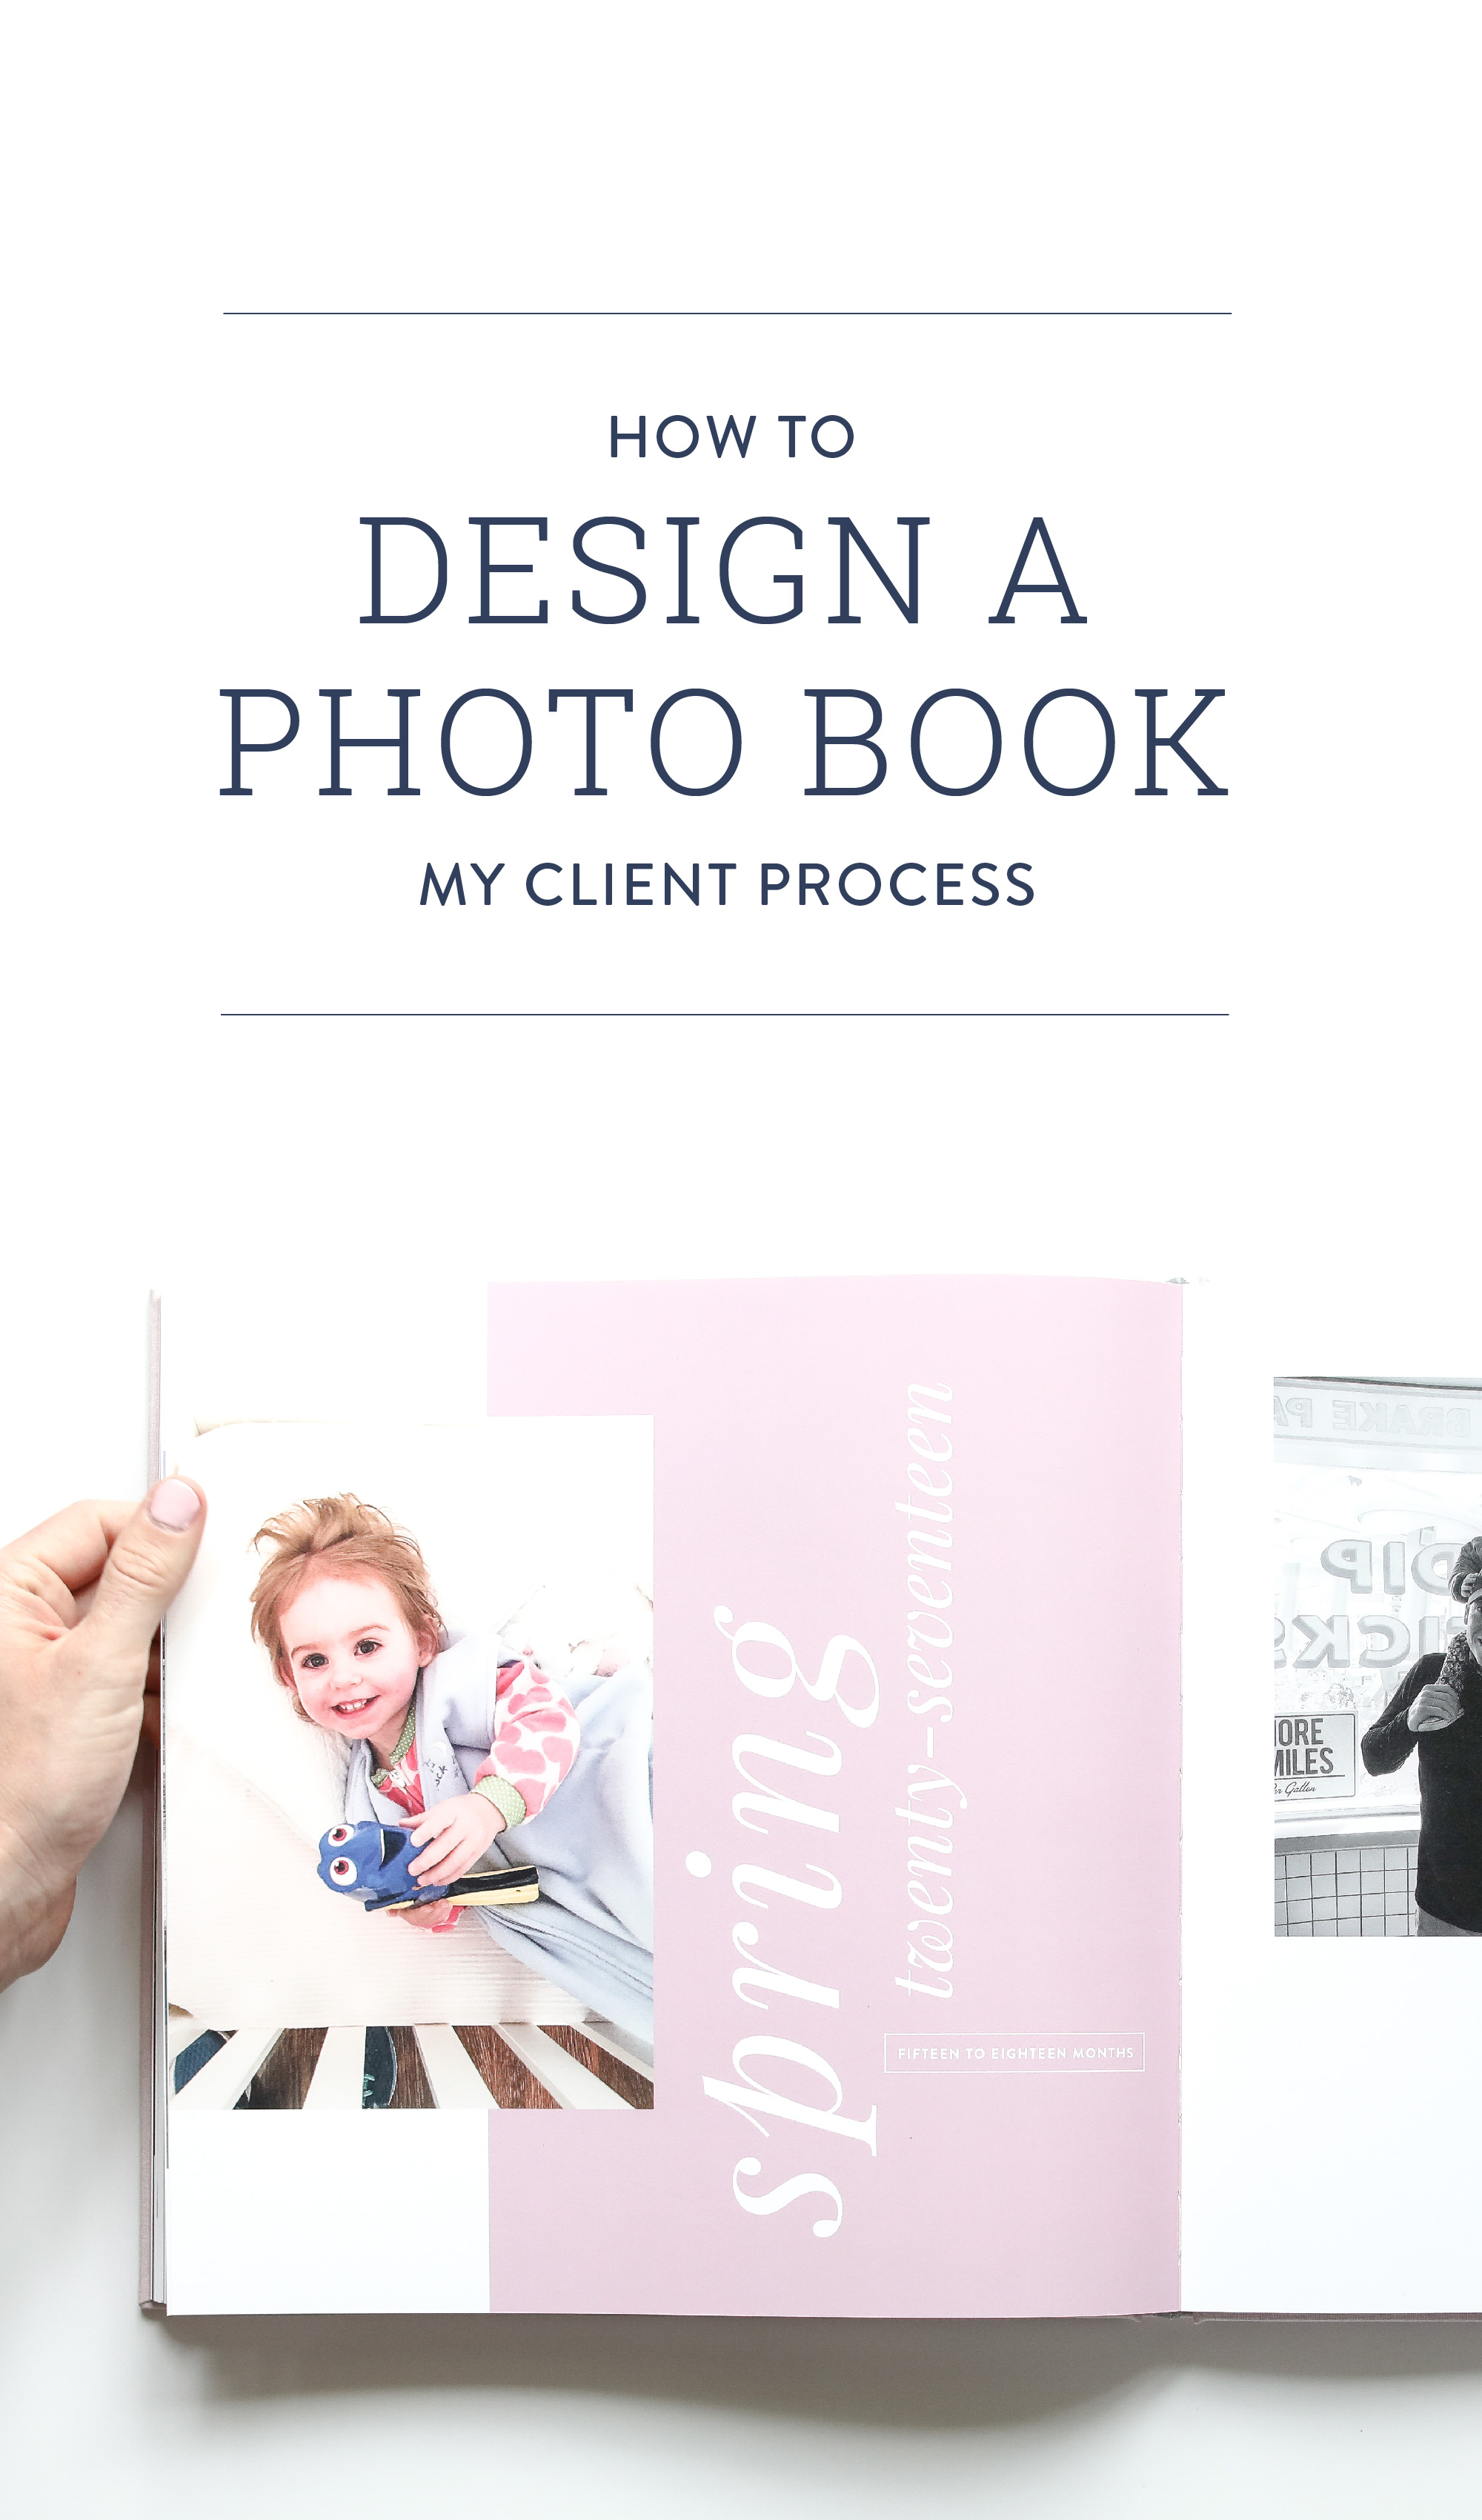
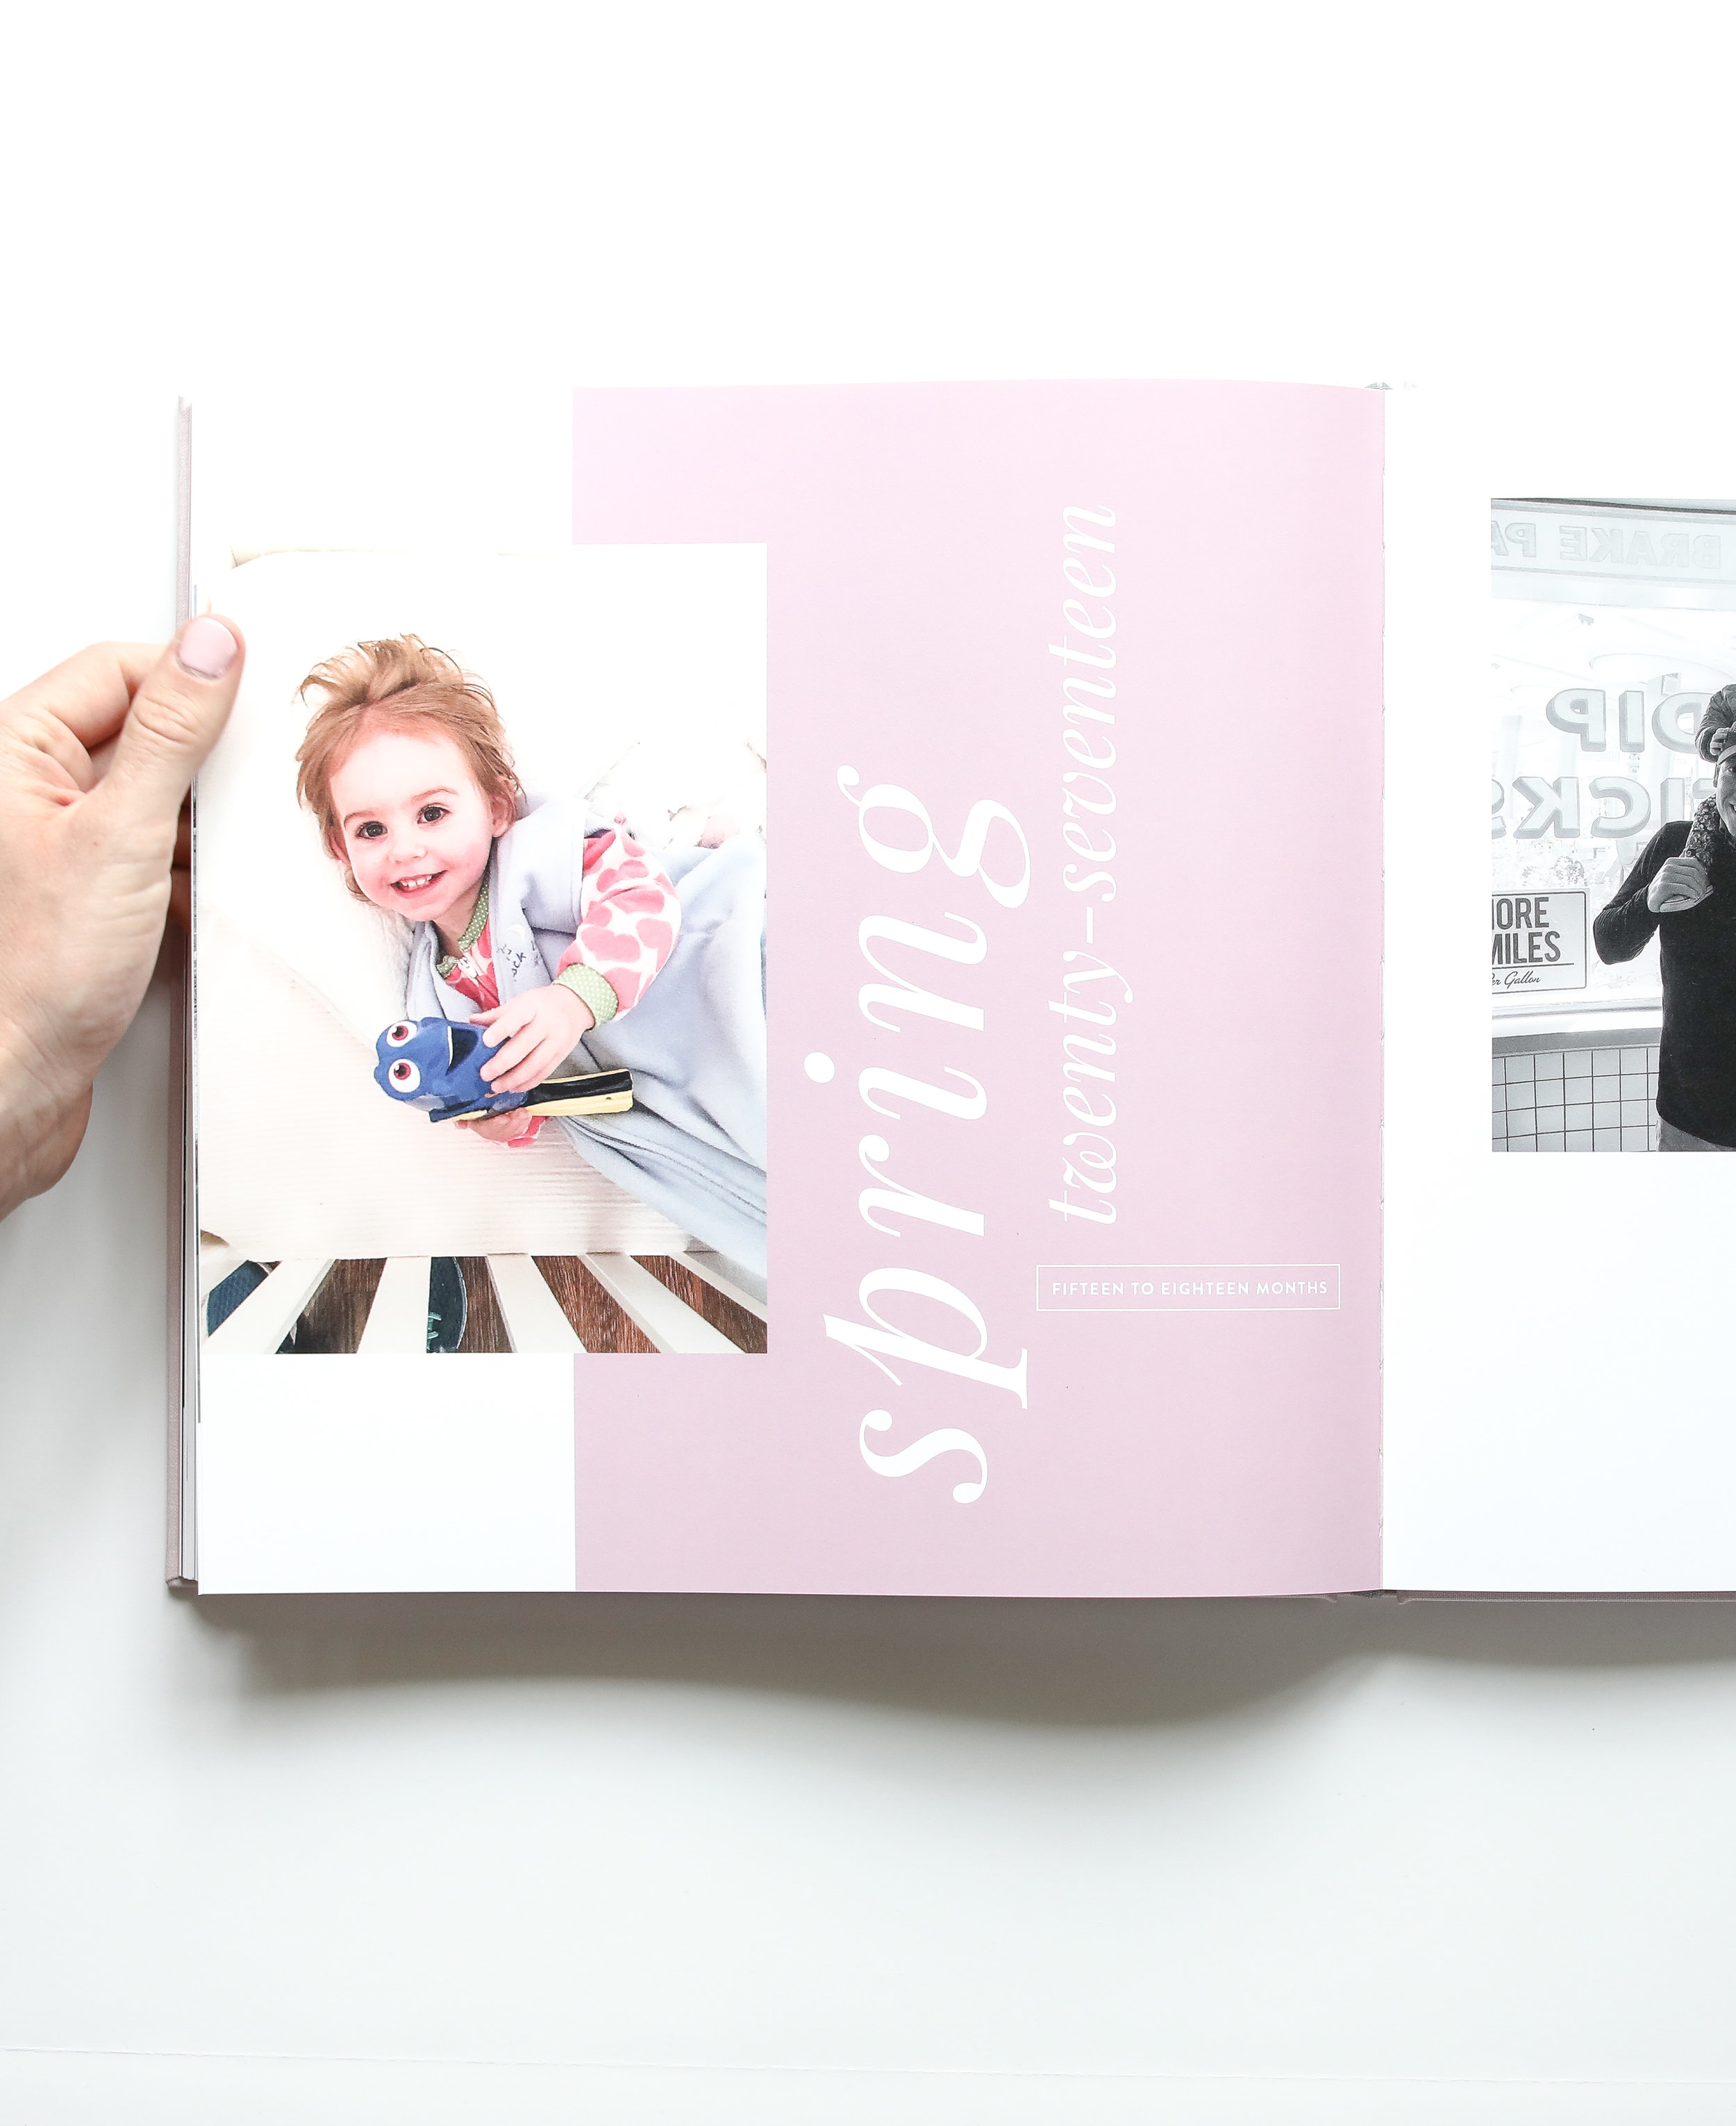
5 | Custom Layout Design
This is where my photo books begin to differ from a standard offering on a photo book website.
I use graphic design software (Adobe Illustrator) to design a couple dozen custom pages for the book including the title, section titles, journaling pages, quote pages, unique photo layouts, etc.
This is one of my favorite parts of the process and where I get to be creative and really think through how the design will impact the book.
If you don’t have Illustrator or a graphic design background, you can create simple title pages using text boxes in your photo book editor of choice.
Simple is great! Believe me!
Ask yourself: What journaling, title pages, and captions do I want to include?
6 | Put it all together
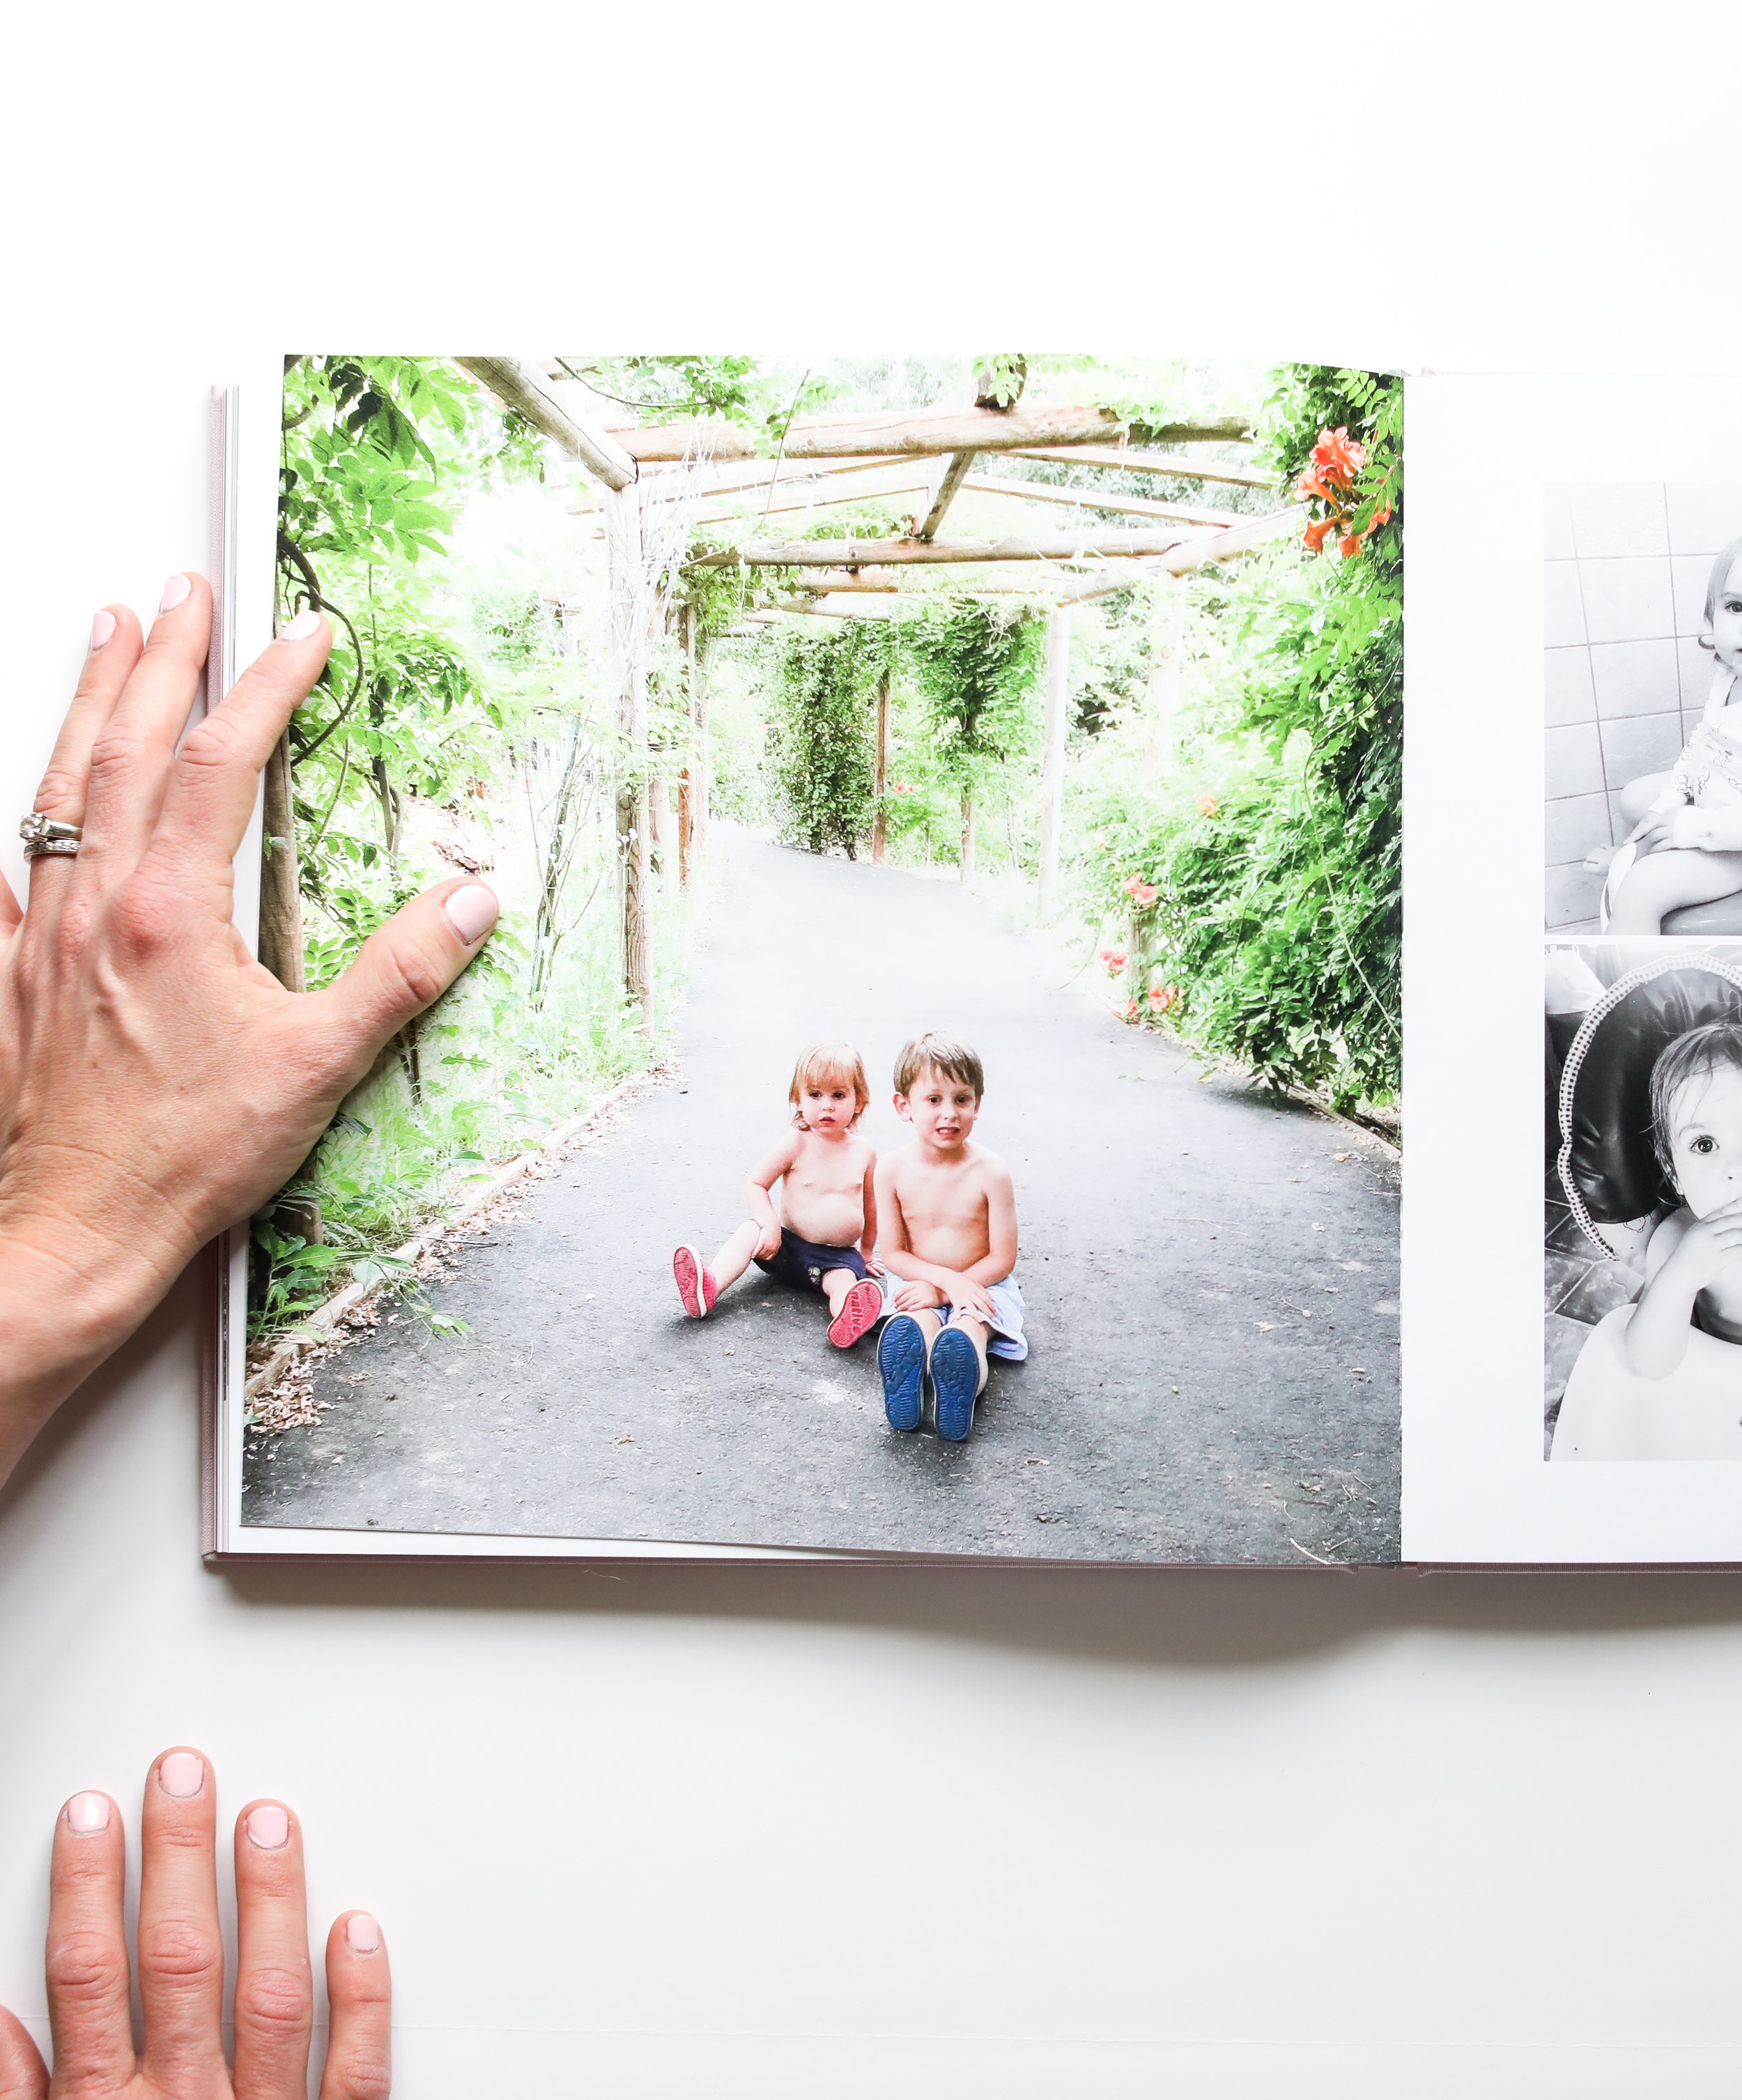
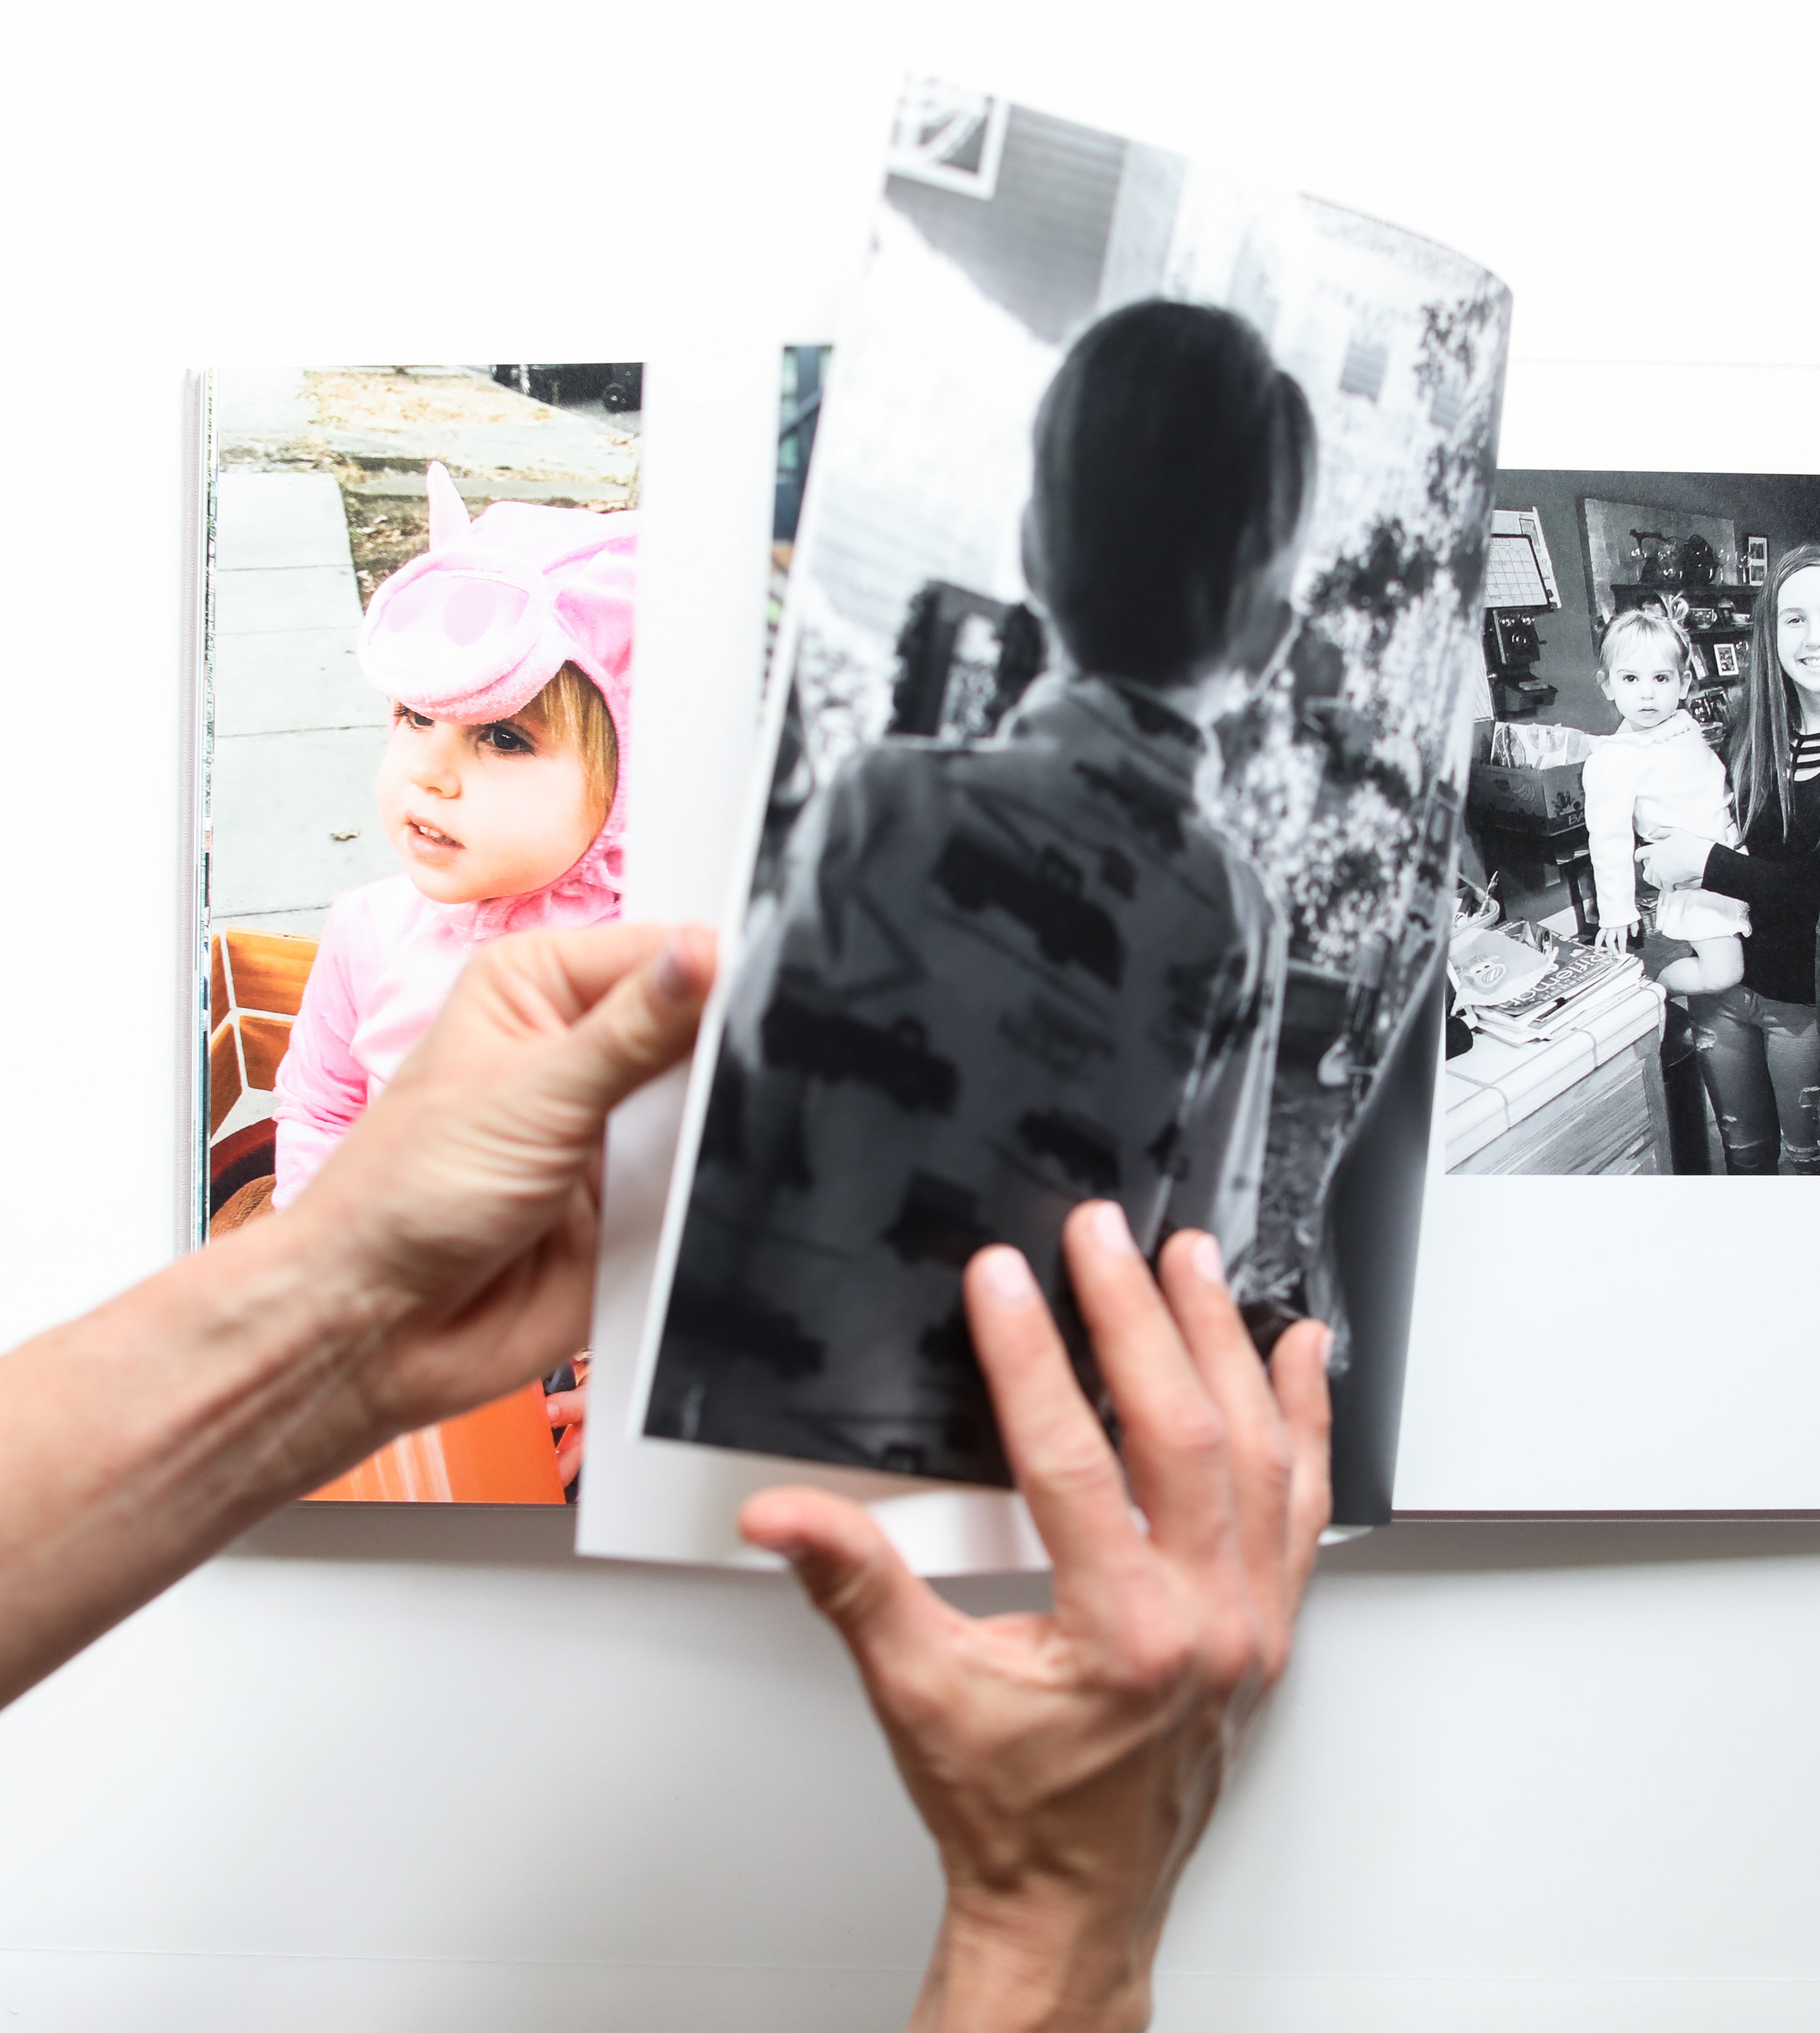
Now comes the really fun part - seeing everything put together in a cohesive design.
I like to drag all of the edited photos and custom pages in one folder to make sure they’re in order by filename. That really helps simplify the process of assembling the photo book.
I always start with the title page and go from there.
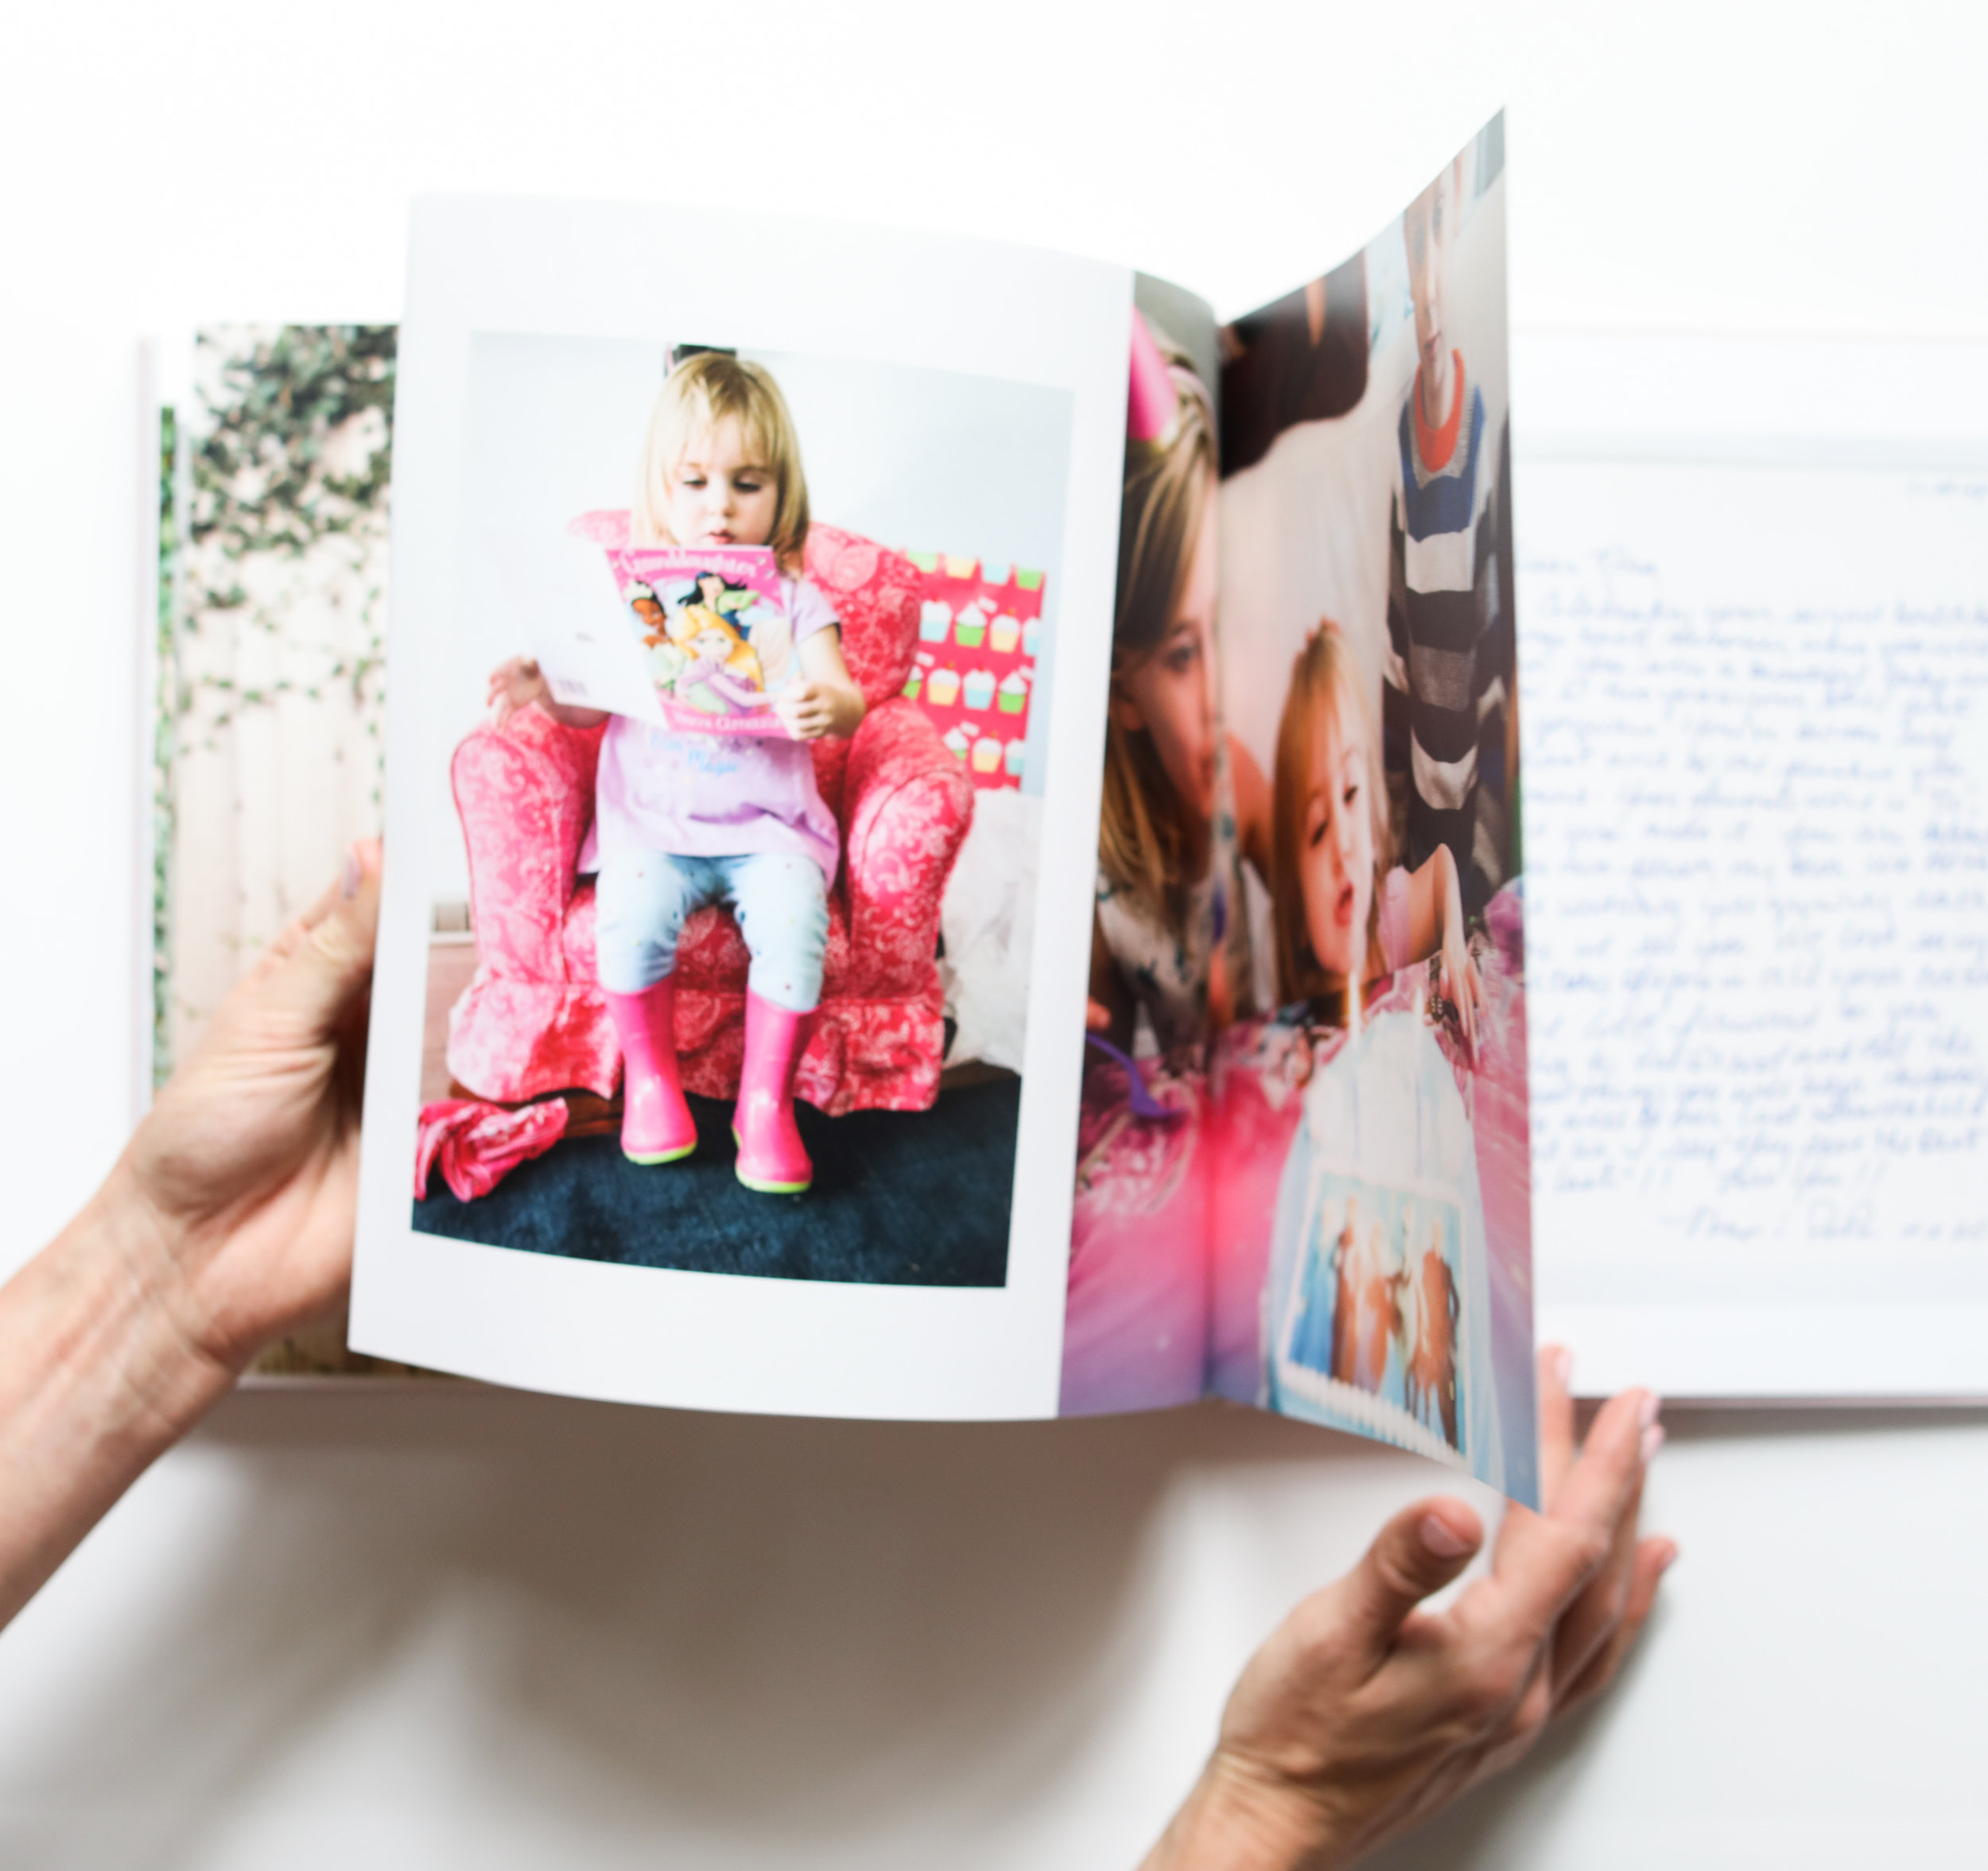
Then I mix in journaling with the photos, add title pages for each section, and add minimal captions where it makes sense.
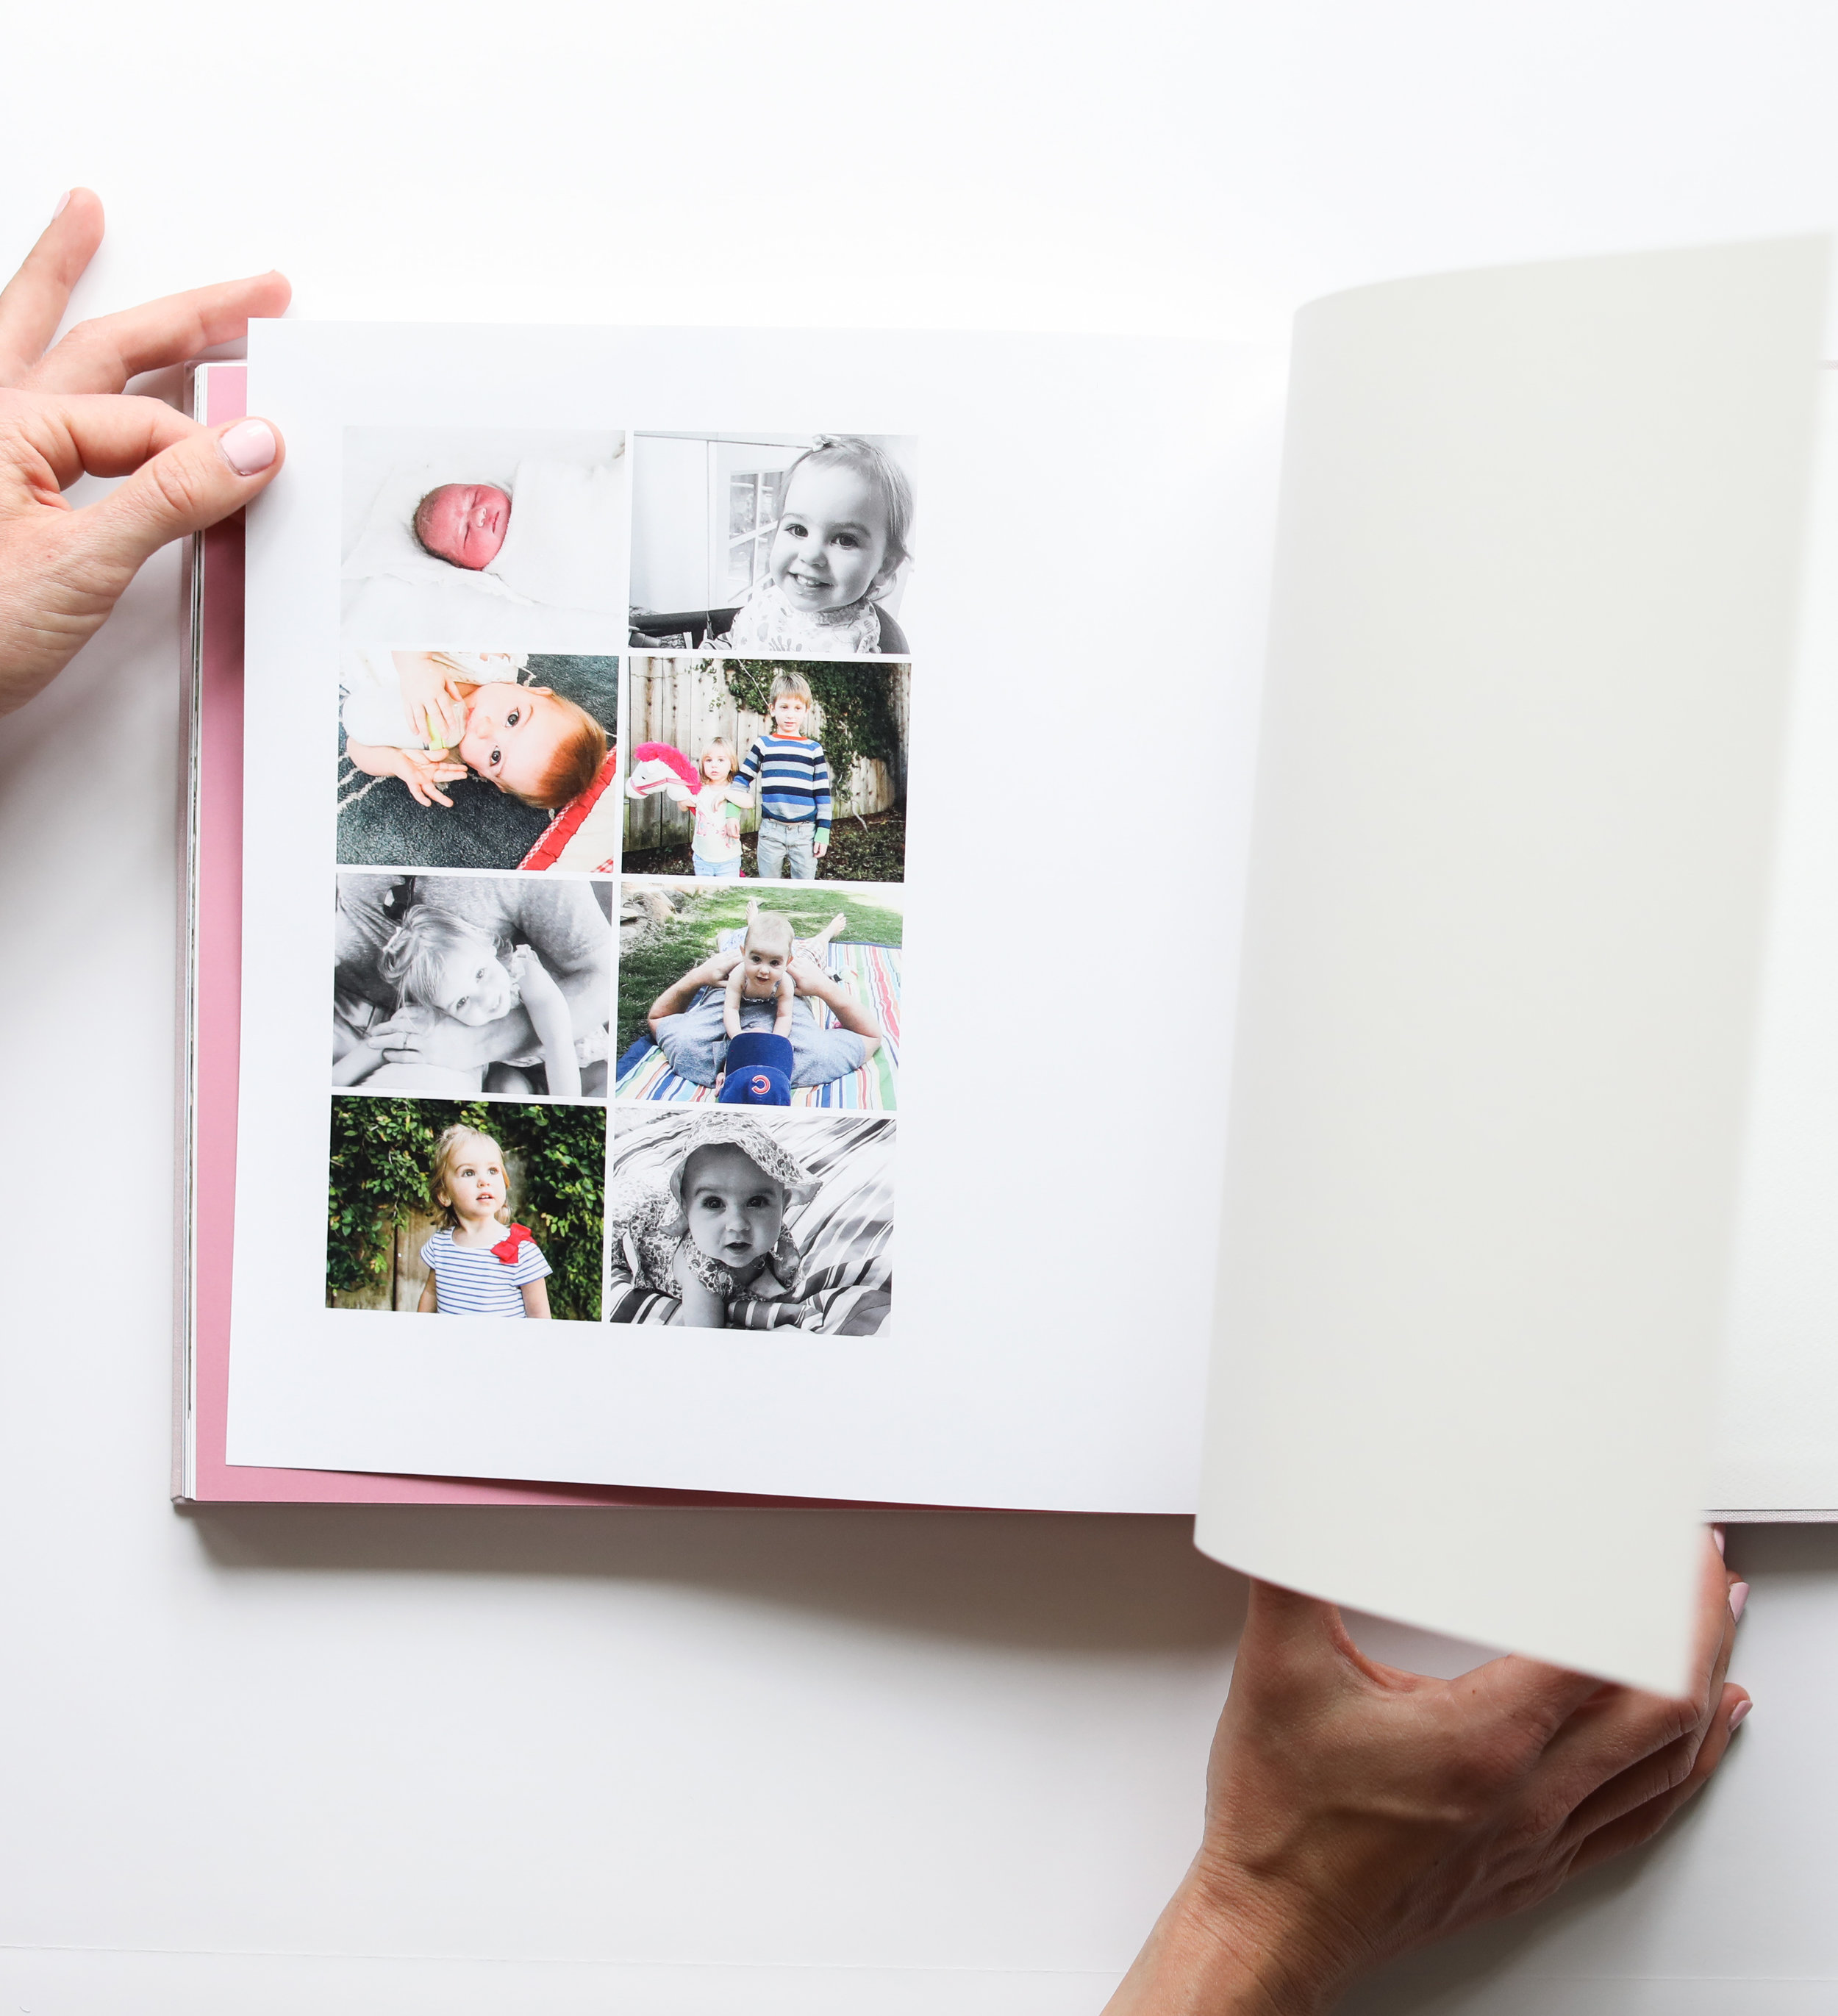
Most photo book editors have preset templates that you can tweak. I try to pay attention to where people’s faces appear, and make sure I’m not cutting anyone off as photos get cropped.
I might add minimal captions where it makes sense, but I don’t feel pressure to do so. If the client has included journaling, then I don’t think it’s necessary to add lots of captions.
I set a maximum number of photos at 300 and that’s for a 160 page photo book.
I love the look of pages with only one photo on them. If you do too, then limit the number of photos you include. Tons of photos will get lost in a big book, and I promise you won’t miss the ones that don’t make the cut.
I keep layouts as simple as possible and really try to let the photos be the star of the show.
Ask yourself: Would I rather include fewer images and have more simple layouts? Or do I want to include more layouts and have lots of photos on each page?
7 | Proof
Once I’ve uploaded all of the photos, and arranged and rearranged layouts in the photo book editor, I go over each page with a fine-toothed comb.
I’m checking for layout errors, lines, the way the photos get cropped, spelling on the journaling pages, the order of the book, and the flow of the book.
Once I’m happy with it, I send the electronic proof to my client and have them go over every page in detail.
Proofread, proofread, proofread!
It’s better to delay printing for a couple of days while you scour every detail (including the design elements - paper choice, cover, etc.) than to rush through this step and send to print prematurely.
I’ve designed enough wedding invitations to know that this step is crazy important, especially when you’re making a significant financial investment.
Ask yourself: Have I given every page a thorough look? Am I ready to print?
8 | Print
For client projects, I use Milkbooks premium photo books.
Their hardcover books are beautifully bound, can accommodate text on the front cover and spine, and come in a range of cover fabrics and colors.
Plus, as a former stationery designer, I’m really particular about paper. I love the paper they use and how many pages they can include in a “nearly” layflat book.
The books cost around $400 all-in (with shipping and applicable taxes), but my clients are paying for a premium, custom service. I want the final product to be the best it can be.
I’ve been really happy with Artifact Uprising as well - similar feel on the paper, and you can get hardcover books in various colors. You just can’t get the volume of pages in their layflat books.
Ask yourself: What do I want this book to look and feel like in the end? Which photo book printer best meets my design, quality, and budget expectations?
The final part of my client process is putting together a video that corresponds with the project, but that’s a post for another day!
If you think one of these projects might be for you, check out my services page or reach out via email. I’m happy to answer any questions you might have.
I really believe you can do one of these projects for yourself! Let me know what you think over on Instagram.