
how to put together a mini album

Sometimes you never get around to documenting a period in your life, but today I'm sharing one way to knock out that lost time. This happened to me when my husband deployed for eight months. This was his fourth deployment, but our first with a kiddo, so I really didn't want to let the time go without commemorating it in some way.
I decided to use a Project Life mini album to document the entire eight months, and this post will walk you through my entire process. I put the entire album together in about a week - eight months in one week? Not bad.
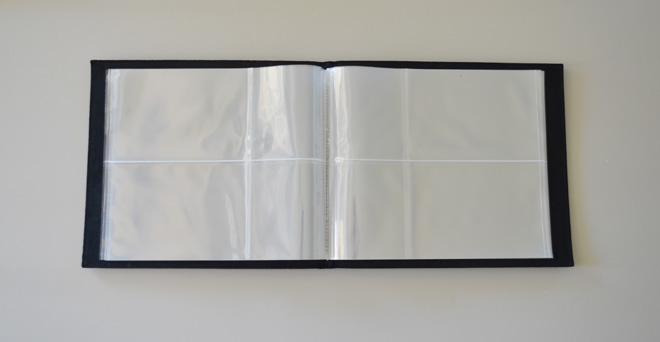
The Project Life mini albums have a really specific format: 20 pages, 80 4x6 spaces and 80 3x4 spaces. I actually find that having a limited number of pages and spaces actually helps me get through a project. Something too open-ended can be overwhelming for me.
I'm going to walk you through the entire project, step-by-step, so if you're interested in completing a project like this you have a road map.

I'm a big believer in beginning with the end in mind, so I started this project by developing a plan. Here's how I did it:
Pick a topic
Choose a period of time, a person, an event or some other limiting topic to document. In this case, I'm documenting Nick's 8 month deployment, including his farewell and his homecoming.
Break up the content
Figure out how much space, how many photos, etc. you're devoting to the project. Then, think about how you're splitting up the content. The Project Life mini album has a fixed number of pages, so I had to break it down so I'd know how many photos I could pull from each month or holiday or event.
I'll use the first page as a title page.

There are 19 two page layouts, which I broke up so I don't spend too much space on one event or month: 1 layout for Nick's farewell, 2 layouts for each of the 8 months (16 total), and 2 for homecoming day.
On the last page I'll do some sort of summary or closing, possibly something with the calendar squares we sent to the boat each month.

Decide on a color and font scheme
Limiting the colors and fonts you use keeps the project looking simple and uniform. I picked a color scheme (black, white, dark brown) and set up templates in Photoshop so I'd know exactly which fonts and font sizes to use throughout the album.
I'm using two free fonts: Bebas Neue and Aleo. You can find a tutorial for downloading free fonts HERE.
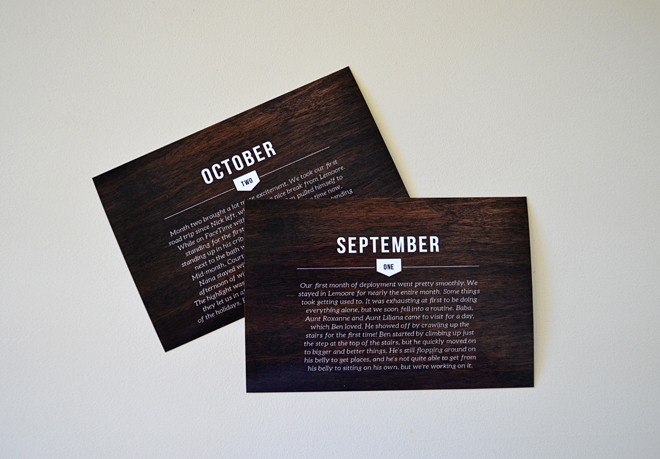
I also picked a couple of motifs to use throughout the album, like this wood grain journal card from Paislee Press.

Gather your content
For this particular project, this just meant picking photos, but I'll often include memorabilia like ticket stubs or receipts.
My advice is to gather everything together in one place. I use iPhoto to organize my pictures, so I created albums for each month and started dragging favorite photos into the appropriate album. I ended up with a lot more photos than I would use, but this step made the selection process less overwhelming.
I always treat this stage like a brainstorm, whether I'm working on Project Life or a mini album. There are no "wrong photos" at this point. Just drag anything promising into the album for that month or week. You'll go back and choose your favorites later.

Decide on a story and edit accordingly
In a mini album, you're limited on space (that's sort of the point!), so you'll have to be selective about which stories you tell. Deciding which events or moments to document is difficult, but thinking carefully about which stories you tell through photos, memorabilia and journaling means you'll have a really meaningful album. As I scanned the photos for a specific month, I jotted down events or moments that jumped out at me.

Once I had my stories selected, I picked the best photos that told those stories.
Then, I edited photos as needed, cropping, making adjustments to color, etc. I saved all of the photos for printing to one folder on my computer.
Here's my first April layout. We had a lot of stories to tell in April, but I tried to be super selective with the photos. I included a 4x6 wood grain journal card, which summarized the month and allowed me to write a lot in a small space (there's one for each month in the album).
I packed lots of stories in this layout, but adding white space and keeping the design elements the same throughout the album helps keep the page from getting too cluttered.

Here's my second April layout. This layout documents just one day. Specifically, it's my nephew's birthday.
Through captions and a simple journal card, I told several stories from that day: George's arrival and welcome by the family, his first FaceTime with Grandma, his birth stats, etc. Again, I stuck with the wood grain motif and my neutral color scheme.

Create content to fill in the gaps
I usually do this in two parts: after I've edited my photos and after I print the photos and get them in the album. I'll often use writing to add detail or explanation in places where I want to elaborate on the story.
Some photos need explaining, so I'll add a white border and a simple caption or just type directly on the photo in Photoshop.

Some stories aren't told through the photos alone, so I'll add a journal card explaining things after the photos are in the album.
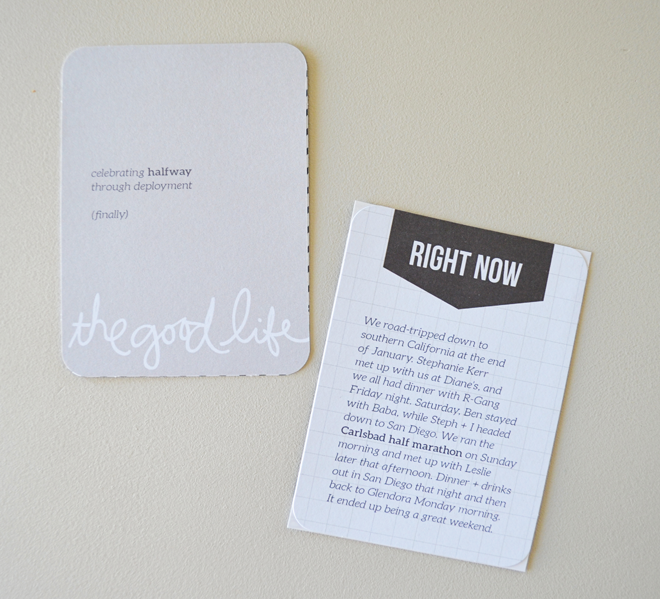
If you're using Project Life, sometimes creating content simply means selecting the right journal card.

So that's how I approach a mini album, although I basically use the same process to put together a weekly Project Life layout or a photobook. Questions? Leave a comment or shoot me an email.
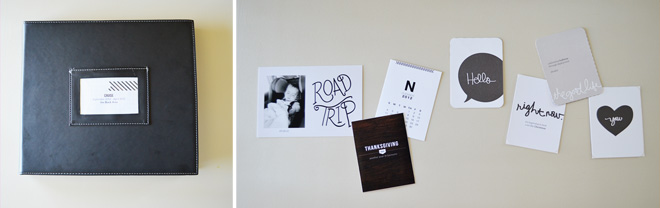
Products I used: Midnight mini album + Midnight Edition core kit both from Project Life wood grain and road trip journaling cards + 2012 and 2013 calendar cards all from Paislee Press