The Complete Guide To Taking Your Own Family Photos

Whether you're a memory-keeper or not, taking an annual family photo is such a simple way to document the passage of time.
And it doesn't have to be stressful, complicated, or expensive.
For the last few years, we've been traveling or moving, so finding time to hire and schedule a professional to take photos hasn't been on my radar.
Instead, we've had friends take photos of our family, and it's been a huge success for us.
I love some of the photos we've managed to get out of these informal photo shoots, and I figure we can't be the only family not paying for professional photos every year.
So I put together this complete guide on taking your own family photos.
Thoughts on Family Photos
Why take an annual family photo?
When it comes to minimal memory-keeping, this is a great place to start.
Don't get me wrong - we've taken countless photos this year as a family, in a dozen countries as we've traveled all over Europe.
But I'm usually wearing a backpack or sunglasses, my husband is always wearing his navy Patagonia jacket (seriously - doesn't matter the weather or location!), and the kids are usually sweaty or snotty.
Those snapshots capture what life looks like for us in the everyday and on the go, and that's great!
I put them in our photo books, and some of them wind up printed and on our walls.
However, there's also a place for a more intentional family photo.
I love having a snapshot of us taken when we're more put together, when the background is simple, and when we're all looking at the camera, no sunglasses, no Patagonia jacket, and only the occasional snotty nose.
An annual family photo, whether it's taken by a friend or a professional photographer, marks the passage of time.

Why have a friend take photos?
If you have the time and budget for a professional photographer, then great.
Often photographers will book out months in advance and you may not have jumped on that wagon early enough.
Or you may not have time to work around a photographer’s schedule, especially during busy seasons.
Or maybe your budget is too tight to spend hundreds of dollars on a photographer.
No problem.
Handing the camera to a friend is such a low-pressure, simple way to get the job done.
You'll save a lot of money and the pressure's off to get the "perfect" photo.
Last year, I noticed that we looked kind of decent after church one day, so we spruced up a bit when we got home, asked a friend to take pics of us in front of some Italian cypress trees outside our house.
I love these pics.
If you have a pretty good camera or a late-model phone with a great camera, you can get some great family photos, even if they’re taken by a friend who doesn’t know much about photography.
I've broken this guide down into four sections:
Things to consider before the photo shoot
Tips for the day of the photo shoot
A few notes for your friend-turned-photographer
Ideas for what to do after the photo shoot
Let’s get started!

Before the Photo Shoot
Plan ahead
I'm a "begin with the end in mind" kind of lady, so even when it comes to taking some informal photos, I think it's worth thinking about a few things ahead of time.
A little bit of planning can save a busy Mom some day-of stress.
Here's what I'd consider before you take your photos: outfits, location, and poses.
Selecting Your Outfits
Avoid a day-of crisis by laying out your clothes a couple days ahead of time.
Even if you’re having a friend take photos, it’s worth planning a bit ahead when it comes to outfits, if only so that you're not a crazy lady on picture day.
Maybe that's just me because my kids seem to grow out of jeans at such an inhuman rate ("But this fit last week!!!").
The struggle is real.
Keep the color scheme simple.
Guys, I'm not a fashion blogger and I'm not particularly creative or adventurous when it comes to wardrobe.
I tend to favor classics and neutrals (no surprises here): black, white, navy, a pop of red, maybe some green, you know the drill.
I also like to mix it up with patterns and layers and not have everyone be too matchy-matchy.
What we wore.
For our photos, the guys usually wear jeans with layers over different patterned button-down shirts in a similar color family.
The last few years I've worn something I already owned, but this year, I wanted to add something floral to the mix.
I lucked out at Zara after braving those tiny, blazing-hot German dressing rooms.
By some miracle, I stumbled upon a floral dress in my go-to winter style (sleeves, no waist, above the knee, good with tights).
I liked to contrast the guys' more structured outfits with something a bit more feminine for me like the white dress you see in these photos.
My preference is to keep the color palette simple and mix things up with pattern, layers, and texture.


If possible, I like using clothes we already own so the photo feels natural and like "us."
Scout your location
Plan ahead.
I think scouting a location is worth doing before photo day.
And if a friend is taking your photos, keep it close to home (yours or theirs).
I really think we can underestimate how much standing around we can do when someone doesn't have a plan.
Scout your location(s) ahead of time so you’re not driving, walking, or standing around trying to figure out where to take these photos.
Keep it simple.
Pick something simple and close to home - even in the backyard, if you have one.
A simple background won’t look dated next year and it won’t compete with your gorgeous family members' smiling faces.
A wall, some greenery, bushes, trees, grass - you won't regret keeping it simple.
Consider Your Poses
Research poses.
This may sound silly, but it's worth spending a few minutes on Pinterest or scrolling through your phone to have some ideas in mind for poses.
Are you all standing in a row? Is someone holding a kid? Do you want to be looking at each other? At the camera? At the baby? Laughing? More formal or more casual?
Think about photo cards.
One great place to see photos that actually look good on a holiday card is on the holiday card websites.
I love scrolling through the photo cards at Minted or Shutterfly to get ideas.
You may even spot the card you want to use and be able to plan your photo accordingly.
Think about how you want the photo to look in the end.
Do you want it to be horizontal? Vertical? Closer up or further away? Sitting or standing?
Rather than put pressure on your friend to tell you what looks good, have three or so poses in mind the day of the shoot.
By thinking about this ahead of time and keeping it simple, you won't waste anyone's time trying to reinvent the wheel in the middle of your photo shoot.
That's what professional photographers are for!


Day of the Photo Shoot
Lights
Getting the lighting right will make all the difference in your photos. Here are a few things to keep in mind.
Use natural light.
Get outside and turn off the flash.
You can always use an app to brighten a photo, but you won't be able to get rid of the yellowing effect of flash and indoor lighting, unless you're pretty confident with your ability to use your camera settings or edit photos.
Avoid direct sunlight.
We scheduled photos with a friend on a day when we had a ton of cloud-cover, which for me is the perfect day to take photos.
If the sun's behind clouds, you won't get weird shadows on people's faces or people squinting when they look at the camera.
However, the clouds parted just as we were heading outside, so we found a shady spot - completely covered in shade - to take our photos.
I talk about this in more detail in my free phone photography workshop.
Be wary of the "golden hour."
In photography, the golden hour is the period right after sunrise or right before sunset, when the light is softer.
You can take some gorgeous photos at that time, and professional photographers who know light and their cameras well take stunning photos using that low-lying sunlight.
But I'd caution you when it comes to having a friend take photos right before sunset.
The light can be inconsistent, fairly dark in the fall and winter months, and hard to navigate if you're unfamiliar with photography.
I think this is best left to a professional photographer.
Here's an interesting post on the pitfalls of shooting during the golden hour.


Camera
Break out your good camera.
This is the time for the DSLR. Borrow one if you don’t have a good one.
If you don’t have access to a fancy camera, use a newer phone. The late-model iPhones have great cameras, including “portrait” mode, which will enable you to blur the background.
Take a few test shots.
When you get to your location, take a few test shots, whether you're using a tripod or handing your camera to a friend.
I like to set up my husband and kids and take a few photos to make sure the settings are good and I like how it looks in the frame.
This also has the added benefit of giving your generous friend a good idea of what you’re looking for in the photos.
Action
When it comes to posing, keep it simple.
I took photos of a few friends last year at the holidays, and the photos everyone chose to print or put on a holiday card were pics with really simple poses.
There’s a place for artistic posing, pictures of your feet, mom and dad kissing in the background and kids covering their faces, and so on.
But a simple pose will never go out of style.
If you're sending out a holiday card, keep it simple. The grandparents just want to see your smiling faces.
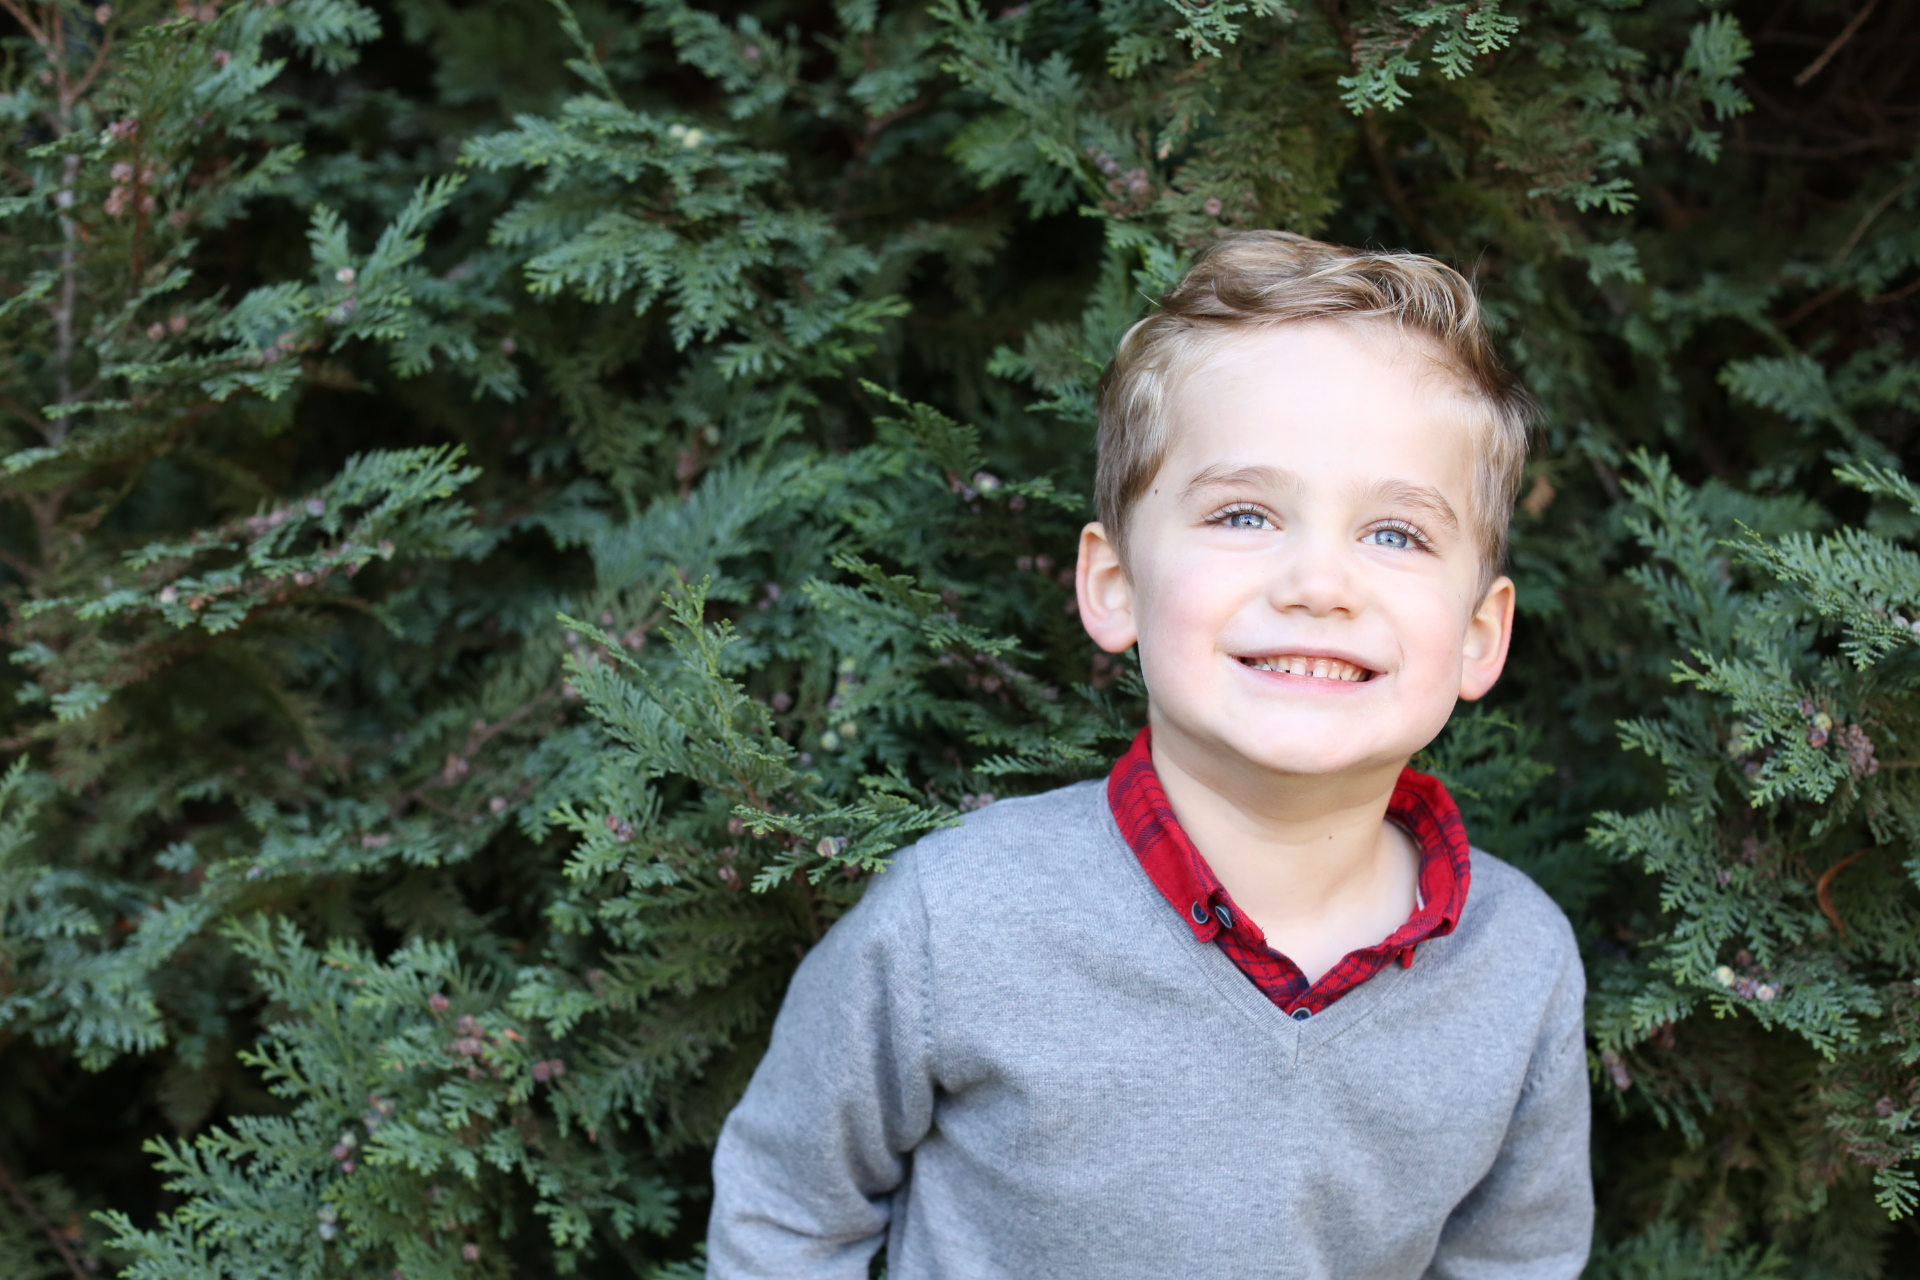
Do something to make people laugh.
Every photo I end up printing is one in which we were laughing during or right before the shot.
The smiles are natural, and your photographer can make a silly face or tell a joke to get the kids laughing.
Mom and Dad can fake it. It'll feel weird but it'll look great.


Tips for the Photographer
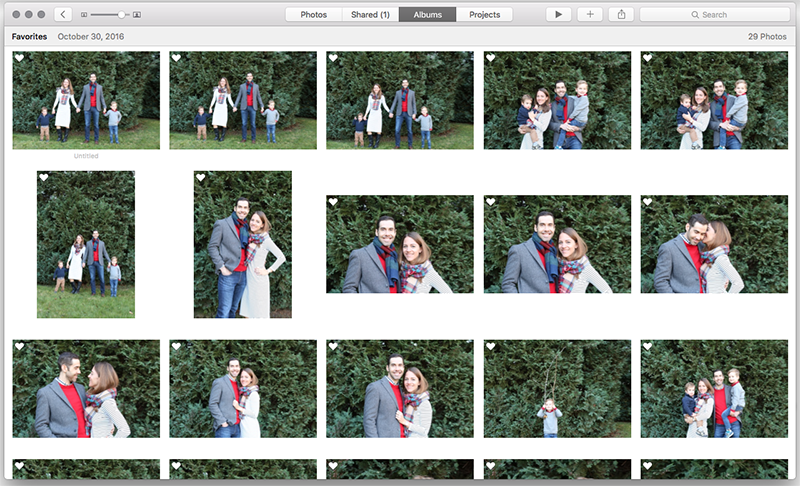
Take tons of photos.
Normally I'm a fan of the "less is more" approach.
But it's better in this case to have too many photos that are great than to take too few and not have any you love.
Everyone's dressed up, you're already out there, and when you're photographing a family, there are a lot of dynamics going on at once.
How many times have you found the perfect photo only to see that one person's eyes are closed. The worst.
Take tons of photos, more than you think you should. You won't regret it.
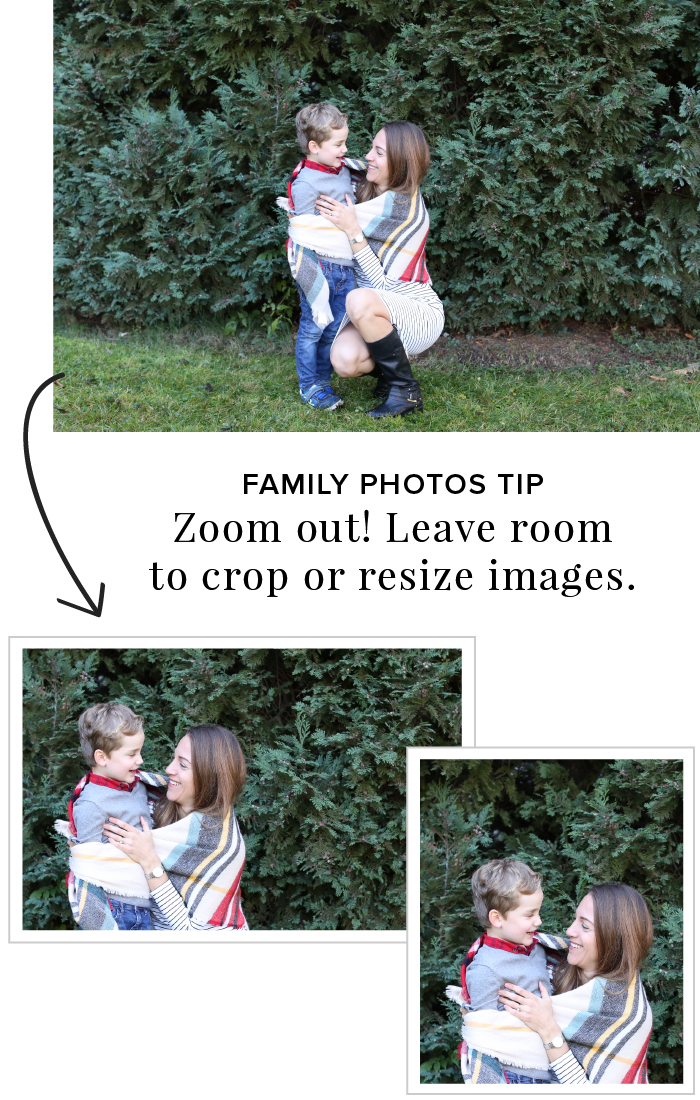
Zoom out.
We tend to take photos exactly the way we want them printed, but if you're trying to fit your picture into a photo card or even a frame, you'll want some room to straighten it out or crop the image.
This is super important. Just take a few steps back or zoom out so there's room around the subject.
Mix it up.
Take lots of photos in different formats: horizontal, vertical, closer up, further away.
Having a variety of layout options for printing or photo cards is huge.
Also, don't wait for them to be completely ready.
Shoot photos while people are talking or laughing or looking at each other and setting up the next shot.
You never know when you'll capture a gem.
Our friend last year caught this moment when I was whispering something funny we should do in the next shot to make our friend laugh.
It was a candid moment that ended up being one of my favorite pics of us.


After the Photo Shoot
Choose your favorites.
Go through all the photos and mark your favorites in whichever program you’re working in.
Then go through those favorites and narrow it down further.
Don't try to pick your favorites from the whole bunch on the first pass.
Go through them all and pick as many as you love, then go through them again and again until you get to a few you love.
That will make it a lot easier to decide which ones to print or share.
Don't shy away from cropping.
Sometimes cropping can make a huge difference in how a photo looks, so experiment with cropping, even changing horizontal pics to vertical, if necessary.
If your friend gave you enough room around your photos, you'll be able to crop them to fit in odd-shaped photo cards.
Cropping can even take a so-so photo and make it a favorite.
More on cropping in this post.
Lastly, say thank you!
Give your friend a simple, seasonal gift that can be consumed, like a candle, a Starbucks gift card, or a tin of tea.

Taking one intentional family photo each year is a simple, minimal way to start documenting.
There's absolutely a place for professional photos, and next year I think I'll splurge for a pro, but if that's not a possibility this year, or if you're just not feeling it, then hand the camera to a friend.
Make it a tradition. Get in the backyard or head to the local park and take a picture with your kids every year.
No sunglasses, no random background, no ubiquitous outerwear, just a sweet, simple photo that documents the passage of time.
Want more photo tips?
Download my free phone photography workshop for my go-to photography tips.